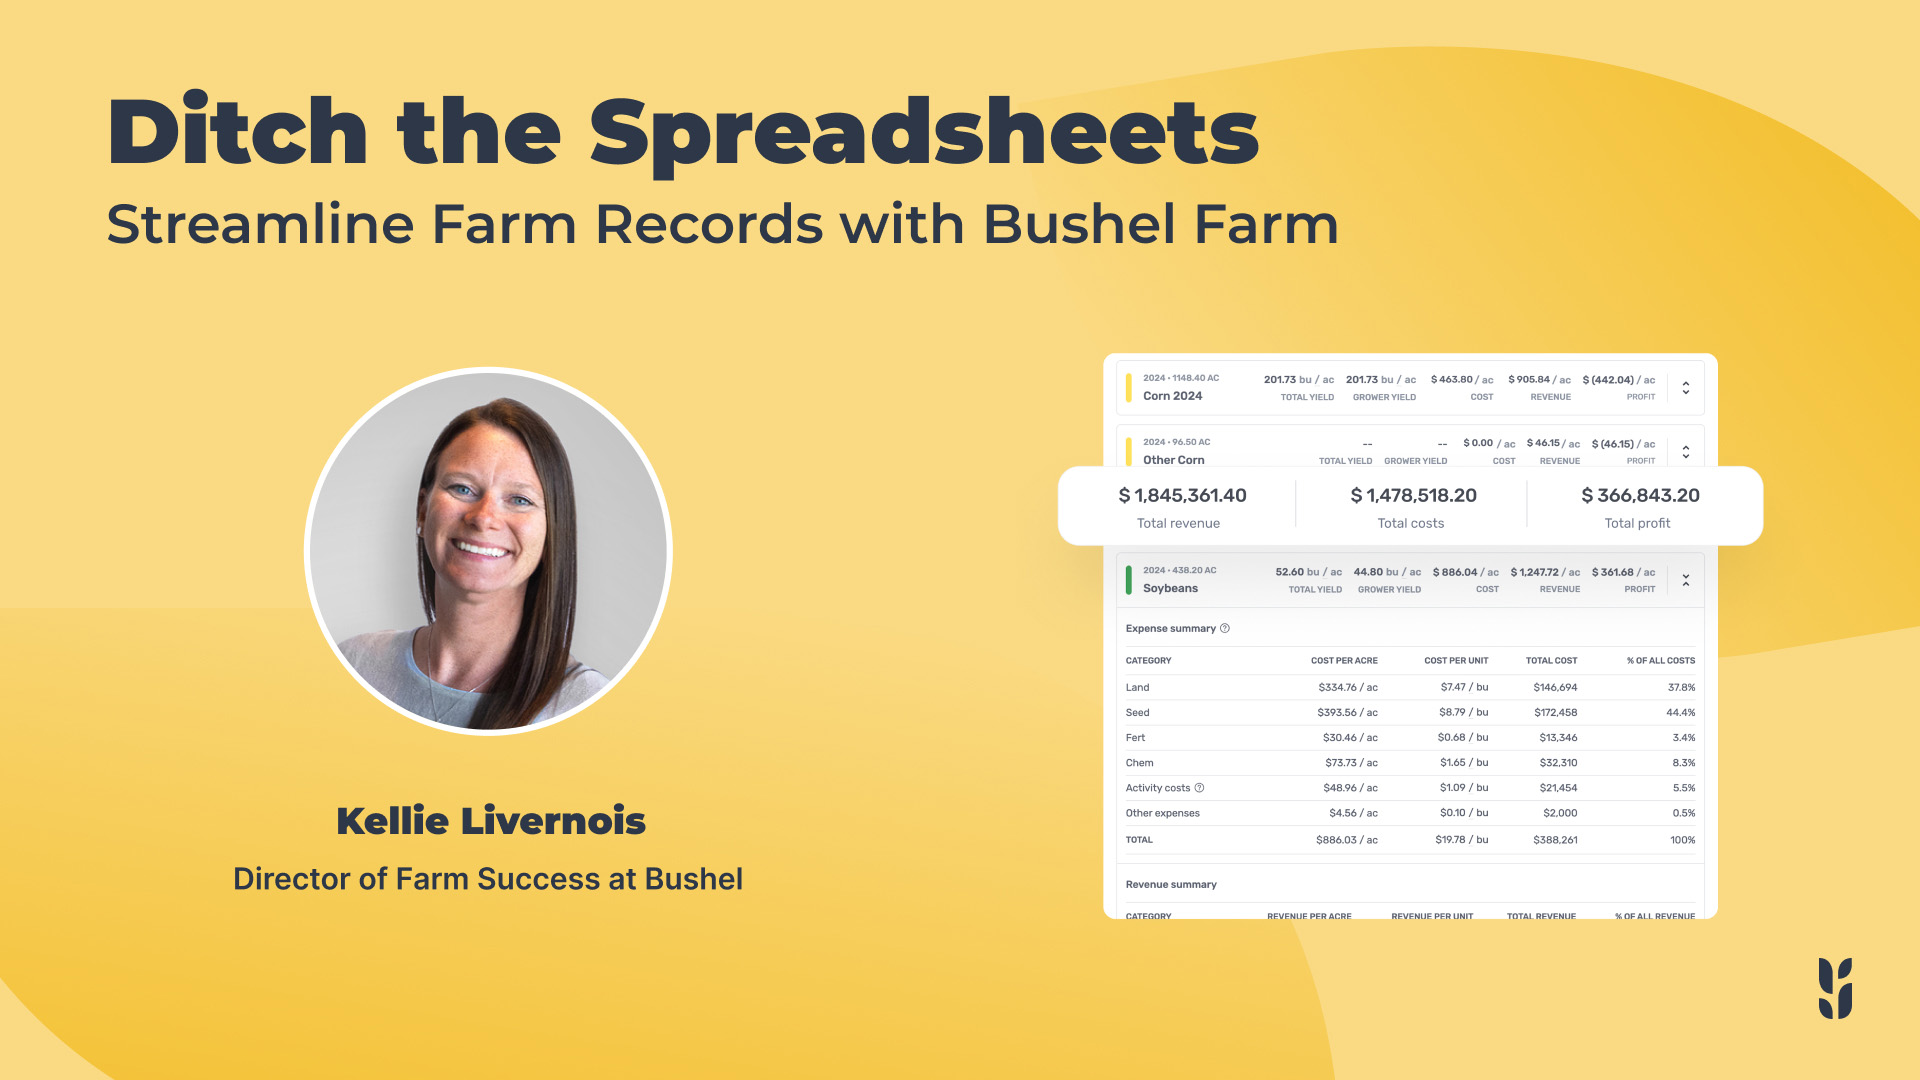
Hello and welcome. Thanks so much for joining today. My name is Kelly Livernois and my goal here at Bushel is to make sure you are getting the most possible value you can at a Bushel Farm. Today, we are going to talk through some best practices for setting up your account and making sure you're ready to go this season. If you're as anxious as some that I know about getting out in the fields, we'll make sure you feel ready and set up for success this season so far. A couple housekeeping items before we get started. This will be relatively short, maybe twenty minutes or so, but it is also recorded and we'll be sure to send this out to you after the live event. So if you wanted to record or watch it back, can certainly do that. On your screen, you should see a Q and A section. Please feel free to drop in some questions there. I'll be sure to answer them as we go. And if we don't happen to get to them, I will be sure we follow-up with you after with that answer. And with that being said, I'm gonna go ahead and share my screen and get started. And here we go. Okay so for brand new folks with us I wanted to show quickly how the setup process works. I know we have a mixture of folks that have been with us for a while. This will just take a minute to end up getting set up. So you can see here I am on the sign in page and I'm just going to put in my email address here. I'm gonna click continue. It's gonna send me a email to make sure I actually own this email address And I will put in my code here as soon as I receive it. And we're gonna go really fresh on a brand new account so that we can look through what it is to map your fields for the first time and connect to the machine data partners that we connect to as well. All right. So this is actually a really helpful step if you are hitting this, to enter your phone number here. This is so that you can make sure that you are connecting to any grain buyers in the network. And it's also easier for logging in next time if you just want to put in your phone and then get a code back that way. For now I'm going to skip, but you can enter that. Same thing here with the passcode. Signing in with the passcode, this just makes it being able to use your face ID or your fingerprint. If you are starting this for the first time, please do feel free to create that passkey. For this, today's sake, I'm gonna go ahead and skip that. The system will ask for just a couple, details for me here, and I'll fill that in and hit next. Then here's where I land and this might be a familiar page for some of you. I'm going to click this today, but if you are a crop consultant, agronomist, any service provider to the farmer here on the call, this is where you would be able to click create new account and make another account for another farmer that you want to contribute to. You can have as many Bushel Farm accounts as you need to even if it's entity management on the same farm. For now, clicking into this brand new account here, you'll see all these different options down the menu. We are going to focus mostly on the ones for field mapping and activities and a little bit of inputs today, really getting ready to get into the field. For example, if I was to click around, would see some more details about each one of these features. For here, I'm going to say try activities for free and activate my free trial on this account. Then from there I will say I'll get this nice video that you can watch and it will load out into another screen for you to save so that you can watch that at a later date if you need to. I land on my fields page. Right now I'm completely empty. For folks getting set up for the first time or even if you are coming back after having field boundaries in here for a while, either way that's great. Getting your fields added is pretty simple, especially these days with as many people have, field boundaries in their FieldView or John Deere account. So I'm gonna go ahead and click on that button. It's going to take me to my connections page where I have my connections available here. I'm going to click connect and it's going to lead me to my John Deere account. If you have your credentials saved on your computer, hopefully that makes it nice and easy for you. If not, hopefully those are nearby so that you can get in. You'll then see this page and I'm actually already connected with another account, my organization is already connected. You should see that you can select this organization. You'll have, you know, if you are connected to multiple, those will be in the list. Just make sure you select the ones that you do want to have field boundaries and activities flowing into Bushel Farm. And then if you wanted to read up on a little bit more about the connection, just know that this is a one way. So this is only field boundaries and field activities or field work coming from the John Deere account into Bushel Farm. So there's no information that's shared back to either John Deere or Climate. So in your case this button would be blue to save. Mine's already connected you can kind of see in the background. If I hit this it's going to bring me right back to my Bushel Farm account and now you see this manual import button here. This is where I'm going to have the ability to import those field boundaries and later on we can import activities, but pretty important that we do field boundaries first. You'll see once I hit that it's gonna give me a little warning that sometimes it takes a little bit of time, for that data to come over in the connection to initiate. But we'll give it a minute. I'm gonna show you also the process here for connecting to Climate FieldView if that's the system that you have field boundaries in. If I click connect here, once again, thankfully, have my credentials saved for this. Click log in. And this is once again just showing you what type of information, what this connection is allowing, so that one way connection and nothing going backwards. When I click allow, you'll see it leads me back to my Bushel Farm account and just like with John Deere, now with Climate, I have that manual import button. And I can click this too, but know that if my field has ten percent or more overlapping with the existing fields already in here, those will not be imported. That's really to save from any duplicates coming over. I'll go ahead and import that too and then let's see if I hit my fields page here in the menu, I already have some fields coming over. From there, I think a great next step would be to let's actually look at adding fields in a different way. So that's great, but what if you don't have fields in another system that you can bring over? One really great way if you do have them from like the FSA or from maybe your agronomist or a different service, dropping in shape files will also import all your boundaries and create those in mass so that you don't have to go one by one. These instructions here will point that out and hopefully help you through it. It is a zip file that needs to be uploaded here but if you were to just drag that file in here or click add and that is another way to bulk import your boundaries. The last way I would suggest of course you can always add them manually. So this is you know kind of what you would expect for field mapping. The one kind of nice thing here in Bushel Farm we do have the common land units so you can grab an existing shape, but then if you need to edit that, can see there's been some changes since that common land unit. I can always click this edit shape button here in the corner and then there's these tools over on the right. So, some things that I might want to do on this field specifically would be like I want to cut this area out. So I'm just going to drag these dots around to do that. What if, let's just say, I wanted this little area out too. This little cut scissor button here allows me to drop pins within the boundary to take that out too and you can customize that, zoom in, all that good stuff. This little eraser tool is nice to just be able to erase a dot there so that just gets rid of it if there's several of them. That's another nice tool and then the trash can is literally just deleting the whole boundary and starting over. That is kind of the process there. You can see there's the free form. You can also, you know, if you have a pivot you can draw a circle on that pretty easily too. And then naming the fields from here as well as if you already know what you're going to grow on that field at this time, you can certainly put that in and just say field. It's going to give you the option to add another or just be done. For now I'm going to be done. It's going to take me back to my fields page and here you can see that I am on twenty twenty six and why don't we go ahead and look at some of the features of this page specifically. So this up here, I always like to remind people that search bar is super handy so I don't know if I have any yep I have some named tests in here so those will bring those up really quickly. Some other things that you can do, this is the kind of standard card view. You can see there's the shape, there's the histogram of rainfall amounts, there's some forecast information, but if you have you know hundreds of fields in here you can always do this compact view and quickly see that information stacked instead. And I just want to call out this little symbol here is telling you that this field was created and synced from a machine data provider, and specifically you can scroll down here to see that the machine data provider was John Deere in this case and it would say climate if that's where the connection came from. Alright, another thing this page you can certainly do some filtering if you wanted to see that soybeans or whatever fields irrigated non climate John Deere that will quickly filter for you. The other thing that I know our farmers really love is this being able to sort by rainfall, seeing the most to least in the last little bit too and with that or the card view as well. And of course these controls are the exact same on your mobile app. So the tablet or phone that you're using out in the field, this is the exact same functionality and the same buttons that you can be looking for. Okay so when we have our fields established and we're feeling really good about the boundaries and the acres, let's talk about planting what crops if you haven't already. I always suggest to do that in bulk if possible. If you know by field name that you are going to be planting these four fields, let's just say, to corn, you can certainly add that all at one time to update that total acres so that you don't have to go one by one. But let's just say you do want to customize that a little bit more, that's completely fine. So you can always click here and click add crop as well. And one unique thing when you're doing it one by one, you have the ability to if you have multiple crops on the same boundary to go ahead and draw that out on this map. You can see I'm just gonna say this area of that field boundary is actually only eighty two of the one hundred and thirty four acres I think it was and that is going to be wheat this year. So if I save that, then it's going to show that in the map as two different. Now let's just say you have already done this ahead of time and your plans are changing a little bit as you start to get into the field. That's completely fine. You can come in here and you can click can oh where did that one test go? Here we go. If you come in here and click edit, you can change this crop to something different. Can change the acres, like you don't have to use the map you can just say one hundred and seventy instead of two seventy for example. Save that and that'll update. And do note here that the crop acres are different than the field acres. So you can have once again a smaller crop boundary on a larger crop or on a larger field. And then those will all be separated down here because we're really tracking by crop and not necessarily just by field. Another good thing if you're just getting your fields in here to know is that you can group them. So in the edit field attributes, this group field here, you would just type in, maybe this is part of my Westfield group for example. I would create that field, save those details, and that will then show up separately from all these other ones. Alright so I have mapped my fields. I have put some crops on and now let's talk about being able to plan those activities once again if you haven't already. So here in the activities section, let's go ahead and log activity and we will plan to plant and we will plan to do all of the cornfields with oh, let's just see one of the seeds. So we are already pulling in, a common database of inputs and products. So if I keyword search here, it will come up with some results. But if for some reason it does not come up, can always create your own type of input here as well. I'm just gonna grab one from the list for now, and I will put my rate. And then the status, if I'm planning this ahead for, let's just say, two weeks out or so, I'll go ahead and say that's the target date. If I wanted to assign it to another member on my account, I can do that, and we'll look at how to add users to your account here shortly. If I wanted to say what type of equipment, should be used, I can do that. I can type any notes and attach any files here too. So once I click log activity that's going to add them to my page here and then you can see I have this page sorted by category right now but if I wanted to sort it by field I can or commodity or status. So if I had some planned and some done that is what would show up here or also by date. This is another great way. Now that I have my activities and they are planned out, I wanted to show a little bit. So when you have your you are in the field or maybe you have operators in the field, of course this account can be can be contributed to from multiple different users and at the same time. So all of this should be showing up in sync together. And on this, so let's just say you plan it that morning, the crew is out working the ground, they will come in here and they can either just quickly see what is the plan and what might they might need to do for that day and plan for that day, or they can just quickly say, yep, that's what I did. I'm going to mark this as done. And that's showing you now that you have two planned activities, one done. Once again, this page can be filtered and customized a lot so one of your operators could say just what's assigned to them or they can just say what is due this week which is nothing at this point and there's a lot of custom filters that can be managed there. I'm going to clear all those. The other thing that's good to know because you made that machine data connection, I'm on my trial right now so I have access to every single feature in here free for thirty days and then at the end of the thirty days I'll be picking a plan and if I pick a plan that does not include that machine data connection, I will still keep my field boundaries in there. I'll still be able to sync my field boundaries but activity level data like the field work that will not flow over automatically but if I am in that top tier plant those activities will come over automatically as I start my field work. So it's as it's happening. It's pretty immediate too within a couple hours is what I normally see. If for some reason I wanted to actually import previous years, if you're just getting started and you wanted to you know maybe try to catch up with twenty twenty five or see what that would have done for you, that's completely possible. I'll show you how to do that in the connection section in that manual import that we looked at earlier. For now though, if the machine data connection is not going to create these automatically and you are going to, just be entering the activities, that's how we would go ahead and do that the way that we just did, those steps we took. I think another good thing to do at this point of the season after you've kind of already planned out your activities is go over to the input section and log some purchases. So you'll can see here now on my inputs list I have that seed that I already planned and how much I plan to use. If you were to be putting in what you plan to do for fertilizer, spray, all of that, you can certainly see this list grow. So let's click log purchase. I'm gonna say I purchased this on the second and I purchased a thousand bags, one seventy five per unit. I'm gonna click log purchase, you can see now that that is going to assign that cost to it. It's gonna show how much I applied versus how much I have remaining. And then if I click on that product, it's going to show me where it was used. And I can click into that to see those details and how that worked out on a per acre cost. All right I have this question that I wanted to read off real quick. Is there a way to have a different, different day option? Many times we plan to spray something on Monday but it doesn't happen till Wednesday. When they hit done it says sprayed Monday. Okay. Yeah. Great question. So here in the activities list, what we would do there, as of right now, they would click edit and update that date, and then, you know, they can change the status here too and update that. It will reflect that difference. So when being marked as planned, can see, you know, or planned as done for here. Being able to default to that date would be good too. For those catching up, that might be a little bit bad. So that's that's a great question, great suggestion. For now, the way to do it would be they should click edit and adjust the date there. Okay. Planned we planned out some activities. We logged that input purchase. We should be feeling, you know, pretty good about having boundaries in, work assigned, some costs associated, ready to go. I think another couple things that are really good to make sure you're familiar with and comfortable with, so the map feature here, this is where you'll see all your fields laid out on the kind of map view. And then satellite imagery, I think this is another great way to keep track of things or you know being able to see even previous year last year what the satellite imagery on this field looked like so that if you know you had some problems, it would be good to look back and maybe that helps you plan for that field activity this year. So getting familiar with that while you have some time outside of the fields. And then scouting, so this is something else you know if you're ready to get out there. I know I drew this boundary pretty silly but let's just say I drop a pin, I'm out here doing some scouting, I type some notes, I can attach pictures of what I'm seeing out there, or if I have my agronomist, for example, on my account with me, they could be adding these pictures and notes as they are scouting. Which leads me to show you. Here in my top right menu, I have these options here. If I was to click on manage users, this is where I can add other people to my account. So I would click add user. I would enter their email address and then what access level I want them to have. Admins are going to be able to see everything, everything financial. A manager is going to be able to do those of assigning of activities and some coordination, but they will not see anything financial. There's less edit rights on that manager access. And then contributor really only can add information to certain areas of the app like activities, scouting, and they do not have any any access whatsoever to financials. Your no access, level this is really if you just wanted to keep track of the name of the person who's doing work for you, and not necessarily they will not get an invite. See that you can't enter their email there you're just going to be entering them by name so that you can select them from the list when you are logging your information here. So that is how you use this to collaborate and then once you do that, it's going to send them an email with the invite that says join the account. They will simply see what you saw here at the beginning, that option to select your farm name and when they do that they will enter the account and see the same view with limited access if that's where you added them as. Another I think helpful thing that sometimes we don't get to go and do if we're not on the mobile app. I one hundred percent recommend downloading the mobile app because we do send push notifications such as your rainfall, which I haven't gotten any yet on this brand new account. But if one of my fields or many of my fields receive more than a tenth inch of rain in the last twenty four hours, we will send you an alert letting you know. This is going to help you obviously plan your logistics for that day whether to go east or west for example. Download that mobile app so that you can one, do all of this information on the go since you're likely always on the move and then you can get those push notifications. If you are, I'm gonna skinny down here, this is exactly what it would look like on your app, on your phone or tablet maybe, and let's just say you have assigned this work out to somebody and they click on it to see the details of what they're supposed to be taking out there. This is the seed they should be having and the rates they should be using. And now they want to actually see where that boundary is on the map, and even more start navigation. So being able to actually grab directions. I'm on my computer so it's opening up this but this would end up actually taking their maps from their phone. So if it's like an Apple device opening up Apple Maps for example and giving them the directions to this field boundary. I think lastly just some helpful information. Once again I'm going to make my screen a little bit bigger here and then show like the rainfall. This is you know even so far this year this field, you'll see my blue line is what is actually fallen and you can give the weekly and daily totals here. This gray line is the ten year average. I can highlight this date range to say you know how much exactly here and then what's the calculation over the ten year average. Once I do have my planting logged on here it's going to remember that and then calculate those amounts just since planting two. You can also see this chart where there's the rainfall amounts in this way And the same thing happens here with the heat units. So if you track your GDDs, this is going to allow you to do that, see that same information, and then there's the different calculations, that you can choose from if you needed to change that. The rainfall information I will say too is in a report format. In the report section, this monthly rainfall summary report, if I was to go back to February let's just say and pull that for all the fields, it's going to give me the group field name, the field name, and then by day one through, twenty eight how much rain fell on each day and then in total for that field. So that's really helpful and then this can always be downloaded to PDF or spreadsheet as well. Okay, I think we covered quite a bit as far as getting ready for planting. Some following sessions from here we will certainly cover more seasonally relevant topics but I did recently do a webinar on kind of a full account setup. If you wanted to check that out, I think we can drop a link here and then certainly in your follow-up email where you are going to end up seeing this recording too so that you can be sure to watch that if you did want to dig into a full account setup. Don't hesitate to reach out if we can help you at all. If you could use a one on one session to be sure that you're feeling good and set up or if, you are not using some of these features and need some help on that, I'm absolutely happy to jump on this, little information dot in the corner. We do have feature tutorials in here that you can go through. We do have, the ability to get support. So there's our online support articles. You can reach out to our support team, and then we can always set up one of those one on one sessions. So thank you. Thank you so much for joining. Good luck this season. I hope all goes well with planting and I'm looking forward to hearing from you later on the season. Thank you.